Step-by-Step: Your First Netcode Implementation in Unity
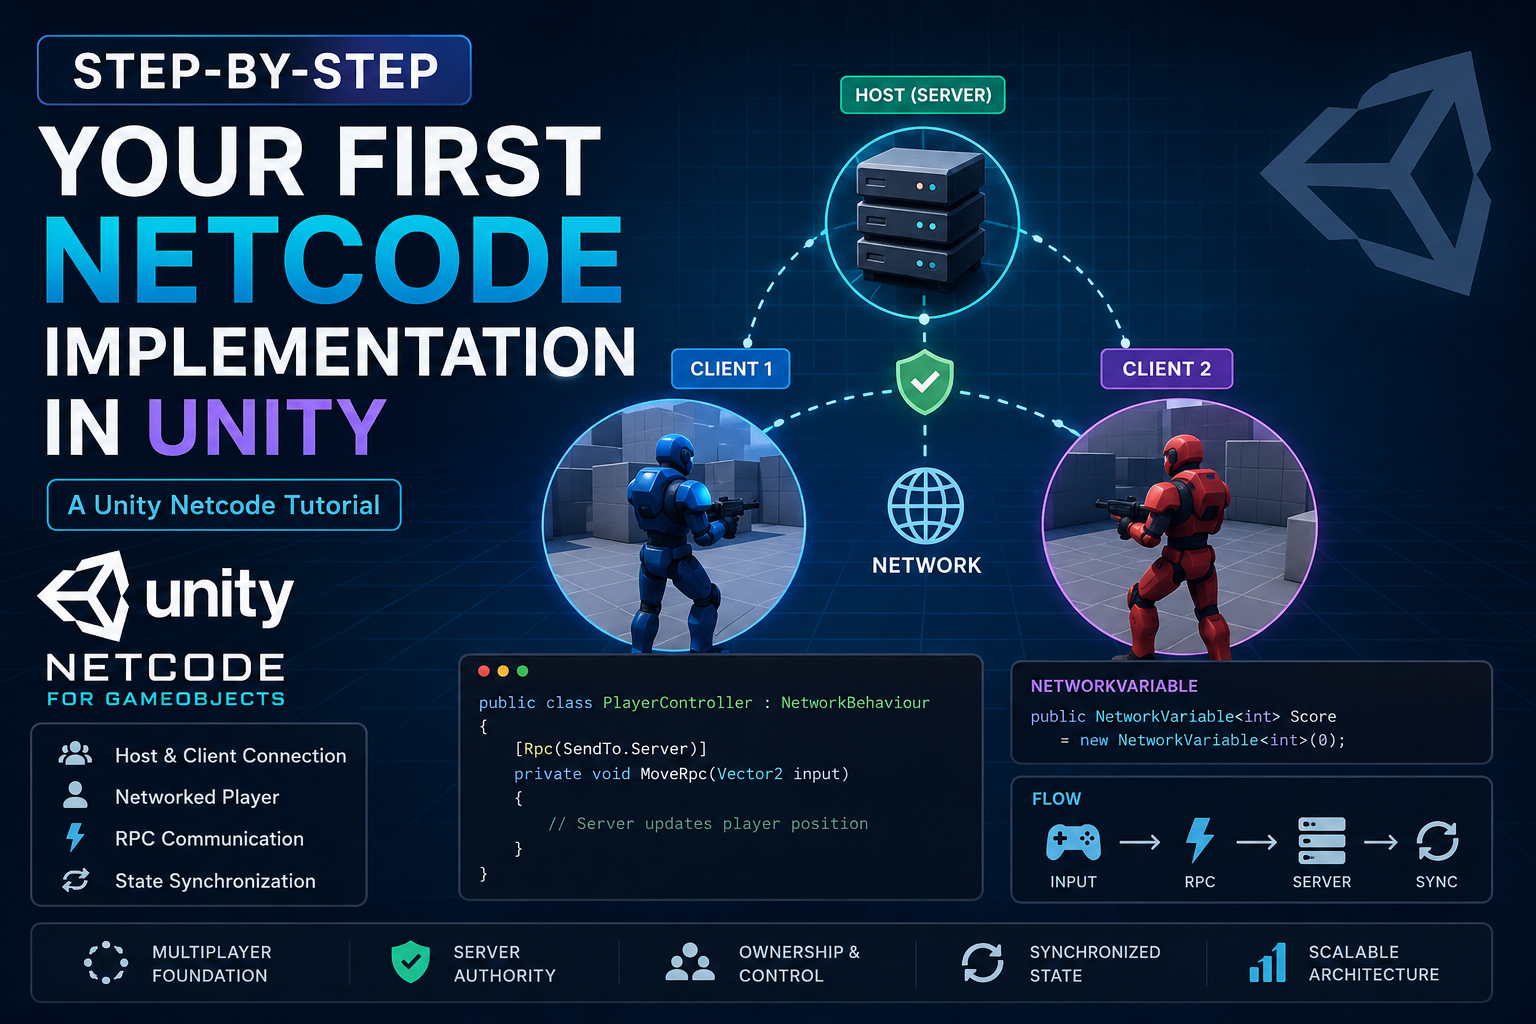
Adding multiplayer to a Unity project can feel complex at first, but the core networking flow becomes much easier once you build a small working example.
In this Unity netcode tutorial, we’ll create a simple host-and-client setup using Netcode for GameObjects, spawn networked players, synchronize movement, and test the result locally.
Understanding these fundamentals is also an important part of modern Unity game development, especially when building real-time multiplayer experiences.
Our basic architecture will look like this:
Player 1
   ↓
Host
   ↓
NetworkManager
   ↓
Unity Transport
   ↓
Client
   ↓
Player 2
Step 1: Install Netcode for GameObjects
Create a Unity project and open:
Window → Package Management → Package Manager
Install:
Netcode for GameObjects
You’ll also use Unity Transport for the underlying network communication.
The basic stack is:
Netcode for GameObjects
        +
Unity Transport
For a first implementation, this gives you everything needed to create a local client-server multiplayer session.
Step 2: Add the NetworkManager
Create an empty GameObject named:
NetworkManager
Add these components:
NetworkManagerUnityTransport
The NetworkManager is responsible for managing the multiplayer session.
It handles tasks such as:
Starting the host
Connecting clients
Spawning players
Network configuration
Managing network prefabs
For this tutorial, we’ll use a standard client-server setup.
Step 3: Create Host and Client Buttons
Create a simple Canvas with two buttons:
Start Host
Start Client
Then add this script:
using Unity.Netcode;
using UnityEngine;

public class NetworkLauncher : MonoBehaviour
{
    public void StartHost()
    {
        NetworkManager.Singleton.StartHost();
    }

    public void StartClient()
    {
        NetworkManager.Singleton.StartClient();
    }
}
Connect each button to its matching method.
The flow becomes:
Start Host
   ↓
Server + Local Client

Start Client
   ↓
Connect to Host
The host acts as both the server and a participating client.
Step 4: Create a Networked Player
Create a simple player using a Cube, Capsule, or character model.
Add:
NetworkObject
NetworkTransform
NetworkPlayer script
Then convert the object into a prefab.
Your hierarchy might look like:
Player
├── NetworkObject
├── NetworkTransform
└── NetworkPlayer
The NetworkObject gives Netcode a way to identify and manage the object across connected clients.
Step 5: Assign the Player Prefab
Select your NetworkManager.
Find the:
Player Prefab
field and assign your networked Player prefab.
Now, whenever a client joins successfully, Netcode can create a player object automatically.
Instead of manually placing multiple players into the scene, the networking system handles player creation for you.
Step 6: Add Basic Player Movement
Create a script named:
NetworkPlayer.cs
Example:
using Unity.Netcode;
using UnityEngine;

public class NetworkPlayer : NetworkBehaviour
{
    [SerializeField]
    private float speed = 4f;

    private void Update()
    {
        if (!IsOwner)
            return;

        float horizontal = Input.GetAxisRaw("Horizontal");
        float vertical = Input.GetAxisRaw("Vertical");

        Vector2 input = new Vector2(horizontal, vertical);

        if (input.sqrMagnitude > 0)
        {
            MoveRpc(input.normalized);
        }
    }

    [Rpc(SendTo.Server)]
    private void MoveRpc(Vector2 input)
    {
        Vector3 movement = new Vector3(
            input.x,
            0,
            input.y
        );

        transform.position +=
            movement * speed * Time.deltaTime;
    }
}
The important check is:
if (!IsOwner)
    return;
This ensures that each client controls only its own player.
Conceptually:
Client 1 → Player 1
Client 2 → Player 2
Without ownership checks, one client could unintentionally control other players.
Step 7: Understand the RPC
This method:
[Rpc(SendTo.Server)]
private void MoveRpc(Vector2 input)
is an RPC, or Remote Procedure Call.
The flow is:
Client Input
    ↓
RPC
    ↓
Server
    ↓
Server Updates Player
The client sends its movement request to the server, and the server applies the movement.
For a beginner project, this is a useful way to understand client-server communication.
For larger competitive games, this foundation usually grows into a more complete server-authoritative multiplayer architecture involving dedicated servers, matchmaking, prediction, validation, and latency management.
Step 8: Synchronize Player Movement
The server now changes the player's position.
Other clients also need to see that change.
That is where:
NetworkTransform
helps.
It synchronizes position, rotation, and other Transform properties across networked instances.
The full flow becomes:
Player Input
    ↓
MoveRpc
    ↓
Server Moves Player
    ↓
NetworkTransform
    ↓
Other Clients See Movement
At this point, you already have the foundation of server-controlled multiplayer movement.
Step 9: Add a NetworkVariable
Not every networked value should be sent as an RPC.
Suppose you want to synchronize a player's score.
You can use:
public NetworkVariable<int> Score =
    new NetworkVariable<int>(0);
The server can update it:
if (IsServer)
{
    Score.Value += 1;
}
NetworkVariables are useful for persistent synchronized values such as:
Health
Score
Ammo
Team
Ready status
Match state
A simple rule is:
RPC → Something happened

NetworkVariable → Something has a state
For example:
Player fired weapon → RPC

Player health = 75 → NetworkVariable
Step 10: Test Two Players Locally
For multiplayer development, test with at least two running instances.
Start one instance as:
Host
and another as:
Client
You should see both players on each instance:
Host
├── Player 1
└── Player 2

Client
├── Player 1
└── Player 2
Move Player 1 and verify that only Player 1 responds.
Then move Player 2 and confirm the same behavior.
Step 11: Test the Important Scenarios
Before adding more multiplayer features, validate the basic networking behavior.
Host Starts
Expected:
Host session starts
Player 1 spawns
Client Connects
Expected:
Player 2 joins
Both players appear
Player Ownership
Move one player.
Expected:
Only the owner controls that player
State Synchronization
Change a NetworkVariable.
Expected:
The updated value appears
on connected clients
These checks help confirm that the fundamentals are working correctly before you expand the project.
RPC vs NetworkVariable
Choosing the correct synchronization method is important.
Use RPCs for events
Examples:
Shoot
Open door
Press button
Interact
Play effect
Use NetworkVariables for state
Examples:
Health
Score
Team
Ammo
Match status
Using each for its intended purpose keeps networking code cleaner and easier to maintain.
Common Unity Netcode Mistakes
Forgetting the NetworkObject
Any GameObject that needs network synchronization should generally include a NetworkObject.
Ignoring Ownership
Always check ownership before processing local player input.
if (!IsOwner)
    return;
Trusting the Client Too Much
For important gameplay actions, validate them on the server.
Synchronizing Everything
Every synchronized value consumes network bandwidth.
Only synchronize data that other clients actually need.
Testing With One Player
A multiplayer feature can appear correct with one instance and fail as soon as another client joins.
Starting With Matchmaking Too Early
First prove the core networking flow.
Then add:
Relay
Lobby
Matchmaking
Dedicated Servers
Authentication
Your First Netcode Architecture
At this stage, your multiplayer setup looks like:
             NetworkManager
                   │
            Unity Transport
                   │
       ┌───────────┴───────────┐
       ↓                       ↓
     Host                    Client
       │                       │
       └───────────┬───────────┘
                   ↓
            NetworkObjects
                   ↓
           NetworkBehaviour
             ┌─────┴─────┐
             ↓           ↓
            RPC     NetworkVariable
             ↓           ↓
           Events       State
This simple structure is the foundation for much larger multiplayer games.
What Should You Build Next?
Once local multiplayer works reliably, expand gradually:
Phase 1: Connection
Phase 2: Movement
Phase 3: Health & Score
Phase 4: Shooting
Phase 5: Player Spawning
Phase 6: Relay
Phase 7: Lobby
Phase 8: Matchmaking
Phase 9: Dedicated Servers
Building one system at a time keeps your networking architecture easier to test and debug.
Final Thoughts
Your first multiplayer implementation does not need to include complex matchmaking, prediction, dedicated servers, or advanced lag compensation.
Start with four concepts:
Connect → Own → Communicate → Synchronize
A successful first Unity netcode tutorial should prove that:
Two players can connect
        ↓
Each controls their own object
        ↓
Gameplay requests reach the server
        ↓
State is synchronized
Once this works, you have a strong foundation for combat, lobbies, Relay, matchmaking, prediction, and dedicated multiplayer servers.
Keep the first implementation simple, understand who owns each object, and expand the multiplayer architecture one system at a time.
